
Windows Movie Maker is the best free video editing software which could help the windows users freely edit and create movies.
In order to make the XAVC file work smoothly in Windows Movie Maker, you need to be clear what file formats are supported for importing into the editing tool first.
What kind of files can be used in Movie Maker?
Video file types (format) | File name extensions |
Windows Media Video (WMV) files | .wmv |
Windows Media files | .asf and .wm |
AVCHD files | .m2ts, .mts, and .m2t |
Apple QuickTime files | .mov and .qt |
DV‑AVI files | .avi |
Microsoft Recorded TV Show files | .dvr-ms and .wtv |
MPEG‑4 movie files | .mp4, .mov,.m4v, .3gp, .3g2, and .k3g |
MPEG‑2 movie files | .mpeg, .mpg, .mpe, .m1v, .mp2, .mpv2, .mod, .vob, and .m2t |
MPEG‑1 movie files | .m1v |
Motion JPEG files | .avi and .mov |
From above video format picture, it is obvious to notice that Windows Movie Maker deals with the XAVC files hardly . To make the Sony XAVC file compatible with Windows Movie Maker perfectly, the simple workaround is to transcode Sony XAVC to WMV, the native video format supported by Windows Movie Maker.
Pavtube Video Converter is perfect for you to finish the conversion job on any Windows computer. It supports creating high quality WMV video for your Windows Movie Maker on Windows 10/8/7/XP/Vista, no matter what's the format of your source video files. It can convert almost any video to WMV so you can import your XAVC video to Windows Movie Maker for editing.
Plus, it comes with all regular video editing tools like Trim, Crop, Effect, Watermark. For basic video editing tasks, you can even replace your Windows Movie Maker with it. The following tutorial will give you some detailed information on how to convert XAVC to Windows Movie Maker friendly video format.
Tip: If you are a Mac user and planning to edit XAVC files in FCP/iMovie/Avid/Adobe Premiere or play XAVC files on some portable devices, then Pavtube Video Converter for Mac is right for you.
The trail-before-purchase is supported, just feel free to try it:


Key Features:
- Three simple clicks to convert 4K XAVC videos to Windows Movie Maker compatible formats.
- Aside from Windows Movie Maker, you can directly convert 4K XAVC to Adobe Premiere, Avid, Sony Vegas and more video editors supported formats without additional settings.
- Edit your 4K XAVC videos before converting them. With the built-in editor, you can trim or crop your videos. And you are able to add subtitles and watermarks to the videos as well.
- Perfectly compatible with Windows 10, Windows 8, Windows 7, Windows XP, Windows Vista, and Windows 2000.
Install and run it, you will see the interface. The following is a simple instruction of how to use this Pavtube Video Converter:
How to Convert and Import 4K XAVC Files to Windows Movie Maker
Step 1: Import XAVC files.
Click the button “File” to add XAVC files (or directly drag and drop your files) to the Converter.

Tip: If you want to merge MTS files before edit in Windows Movie Maker, just need to check the “Merge into one” box.
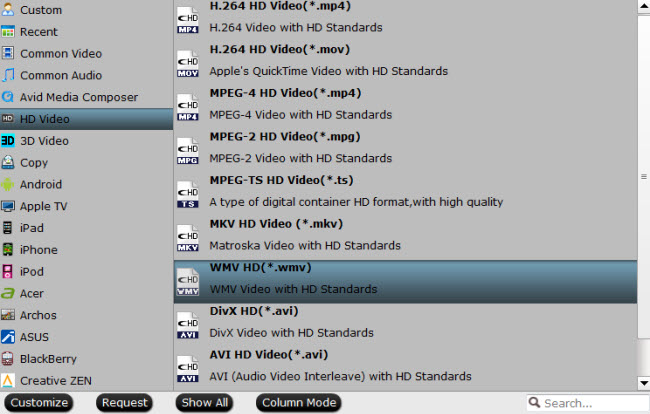
Step 2: Select an output format for Windows Movie Maker.
Click “Format” bar to select suitable format for Windows Movie Maker. WMV is one of the proper formats for Windows Movie Maker.
Step 3: Tap the“Settings”icon to adjust audio and video parameters for Windows Movie Maker.
Once you have chosen the output format, then click the "Settings" right beside "Format" to adjust the video and audio parameters.
Step 4: Tap the big Convert button on the main interface to start transcoding Sony XAVC to Windows Movie Maker.
The conversion should be quickly finished. Once the process is at 100%, you can have the converted file easily worked with Windows Movie Maker.
Read More: